
Request Tracing Node.js Implementation: Guide with OpenTelemetry & Jaeger
What is Distributed Request Tracing?
Request tracing solves a critical problem in microservices architectures by assigning a unique identifier to each request and carrying that identifier through every service the request touches. The Google Dapper whitepaper introduces the two basic elements of distributed tracing: Span and Trace.
A Span represents a logical unit of work in the system that has an operation name, start time, and duration. A Trace is represented by one or more spans—an execution path through the system that you can think of as a DAG (Directed Acyclic Graph) of spans.
In practical terms, when a user request travels through your API gateway, hits a service, makes a database call, and then calls another service, each of these operations creates a span. Jaeger stitches all those spans into a single trace, giving you complete visibility into the request's journey.
Understanding Jaeger Architecture
In most modern setups, applications are instrumented using OpenTelemetry rather than native client libraries, since OpenTelemetry has become the standard instrumentation layer while Jaeger works as a backend that receives that data.
Here's how the pieces fit together:
- Agent: Deployed with the application to collect traces. The agent receives trace data from the application and forwards it to the collector.
- Collector: Aggregates traces from multiple agents and processes them. Elasticsearch is commonly used as it allows for fast retrieval of trace data, though other options like Cassandra and Apache Kafka are also supported.
For local development or testing, you can run Jaeger all-in-one in Docker, which bundles all components together.
Setting Up Jaeger Locally
Before instrumenting your application, start a Jaeger instance. The quickest way is to use Docker:
docker run -d \
  -p 6831:6831/udp \
  -p 16686:16686 \
  jaegertracing/all-in-one:latest
This exposes the Jaeger UI on port 16686 and opens the agent on port 6831 for receiving spans via UDP. Jaeger UI will be available at http://localhost:16686.
Installing OpenTelemetry and Jaeger Packages
First, install the required OpenTelemetry modules. Support for @opentelemetry/exporter-jaeger ended in March 2024; use @opentelemetry/exporter-trace-otlp-proto instead.
A complete installation for a modern setup:
npm install @opentelemetry/api \
  @opentelemetry/sdk-node \
  @opentelemetry/sdk-trace-node \
  @opentelemetry/resources \
  @opentelemetry/semantic-conventions \
  @opentelemetry/auto-instrumentations-node \
  @opentelemetry/exporter-trace-otlp-proto \
  express
Creating a Tracing Configuration File
Create a file called tracing.js to set up the OpenTelemetry Tracer. In this file, you'll set up the core tracing components:
- Instrumentations: Create Spans by watching incoming HTTP requests and other operations.
- SpanProcessor: Converts spans created by instrumentations into readable spans and passes them to the configured Exporter.
Here's a complete example:
const { NodeSDK } = require('@opentelemetry/sdk-node');
const { getNodeAutoInstrumentations } = require('@opentelemetry/auto-instrumentations-node');
const { OTLPTraceExporter } = require('@opentelemetry/exporter-trace-otlp-proto');
const { Resource } = require('@opentelemetry/resources');
const { SemanticResourceAttributes } = require('@opentelemetry/semantic-conventions');

const resource = Resource.default().merge(
  new Resource({
    [SemanticResourceAttributes.SERVICE_NAME]: 'my-nodejs-app',
    [SemanticResourceAttributes.SERVICE_VERSION]: '1.0.0',
  }),
);

const sdk = new NodeSDK({
  resource: resource,
  traceExporter: new OTLPTraceExporter({
    url: 'http://localhost:4317', // OpenTelemetry Collector endpoint
  }),
  instrumentations: [getNodeAutoInstrumentations()],
});

sdk.start();

process.on('SIGTERM', () => {
  sdk.shutdown()
    .then(() => {
      console.log('Tracing terminated');
      process.exit(0);
    })
    .catch((err) => console.error('Error shutting down tracing', err))
    .finally(() => process.exit(1));
});
Implementing Context Propagation
On the server side, extract context from incoming request headers before creating spans. The extracted context becomes the parent of any spans created while processing the request. For outbound requests, propagation.inject adds trace context to headers when making requests to other services.
Here's a middleware example for Express that handles context extraction:
const express = require('express');
const { trace, context, propagation, SpanKind, SpanStatusCode } = require('@opentelemetry/api');

const app = express();
const tracer = trace.getTracer('http-server');

function tracingMiddleware(req, res, next) {
  // Extract context from incoming request headers
  const extractedContext = propagation.extract(context.active(), req.headers);

  // Create span for the request
  const span = tracer.startSpan(
    `${req.method} ${req.path}`,
    {
      kind: SpanKind.SERVER,
      attributes: {
        'http.method': req.method,
        'http.url': req.originalUrl,
        'http.target': req.path,
      },
    },
    extractedContext
  );

  // Make the span active for the request
  const ctx = trace.setSpan(extractedContext, span);

  context.with(ctx, () => {
    res.on('finish', () => {
      span.setAttribute('http.status_code', res.statusCode);
      if (res.statusCode >= 400) {
        span.setStatus({ code: SpanStatusCode.ERROR });
      }
      span.end();
    });
    next();
  });
}

app.use(tracingMiddleware);
For outbound HTTP requests to downstream services, inject the trace context:
const { propagation, context } = require('@opentelemetry/api');

async function callDownstreamService(url) {
  const headers = {};
  // Inject current trace context into headers
  propagation.inject(context.active(), headers);

  const response = await fetch(url, { headers });
  return response.json();
}
Propagation over HTTP and messaging uses W3C traceparent and tracestate headers, which automatically carry the trace ID and parent span ID across service boundaries.
Sampling Strategies for Production
In production, capturing every request creates excessive overhead. Head based sampling makes the sampling decision at the beginning of a trace—support is built into the OpenTelemetry SDKs. Jaeger supports different sampling strategies such as constant sampling, probabilistic sampling, and rate-limiting sampling.
Tail based sampling allows sampling decisions to be made after the trace is complete and all spans have been collected. This provides more granular control over which traces are kept and which are discarded.
For development, configure constant sampling (all traces collected):
const sdk = new NodeSDK({
  sampler: new TraceIdRatioBasedSampler(1.0), // 100% sampling for dev
  // ...
});
For production, use probabilistic sampling:
const sdk = new NodeSDK({
  sampler: new TraceIdRatioBasedSampler(0.1), // 10% of traces
  // ...
});
Viewing Traces in the Jaeger UI
Once your application sends traces to Jaeger, Jaeger's UI allows you to view traces, understand request paths, and identify performance bottlenecks. Through the UI, you can visualize how requests flow through the system, view latency at each step, and spot any anomalies.
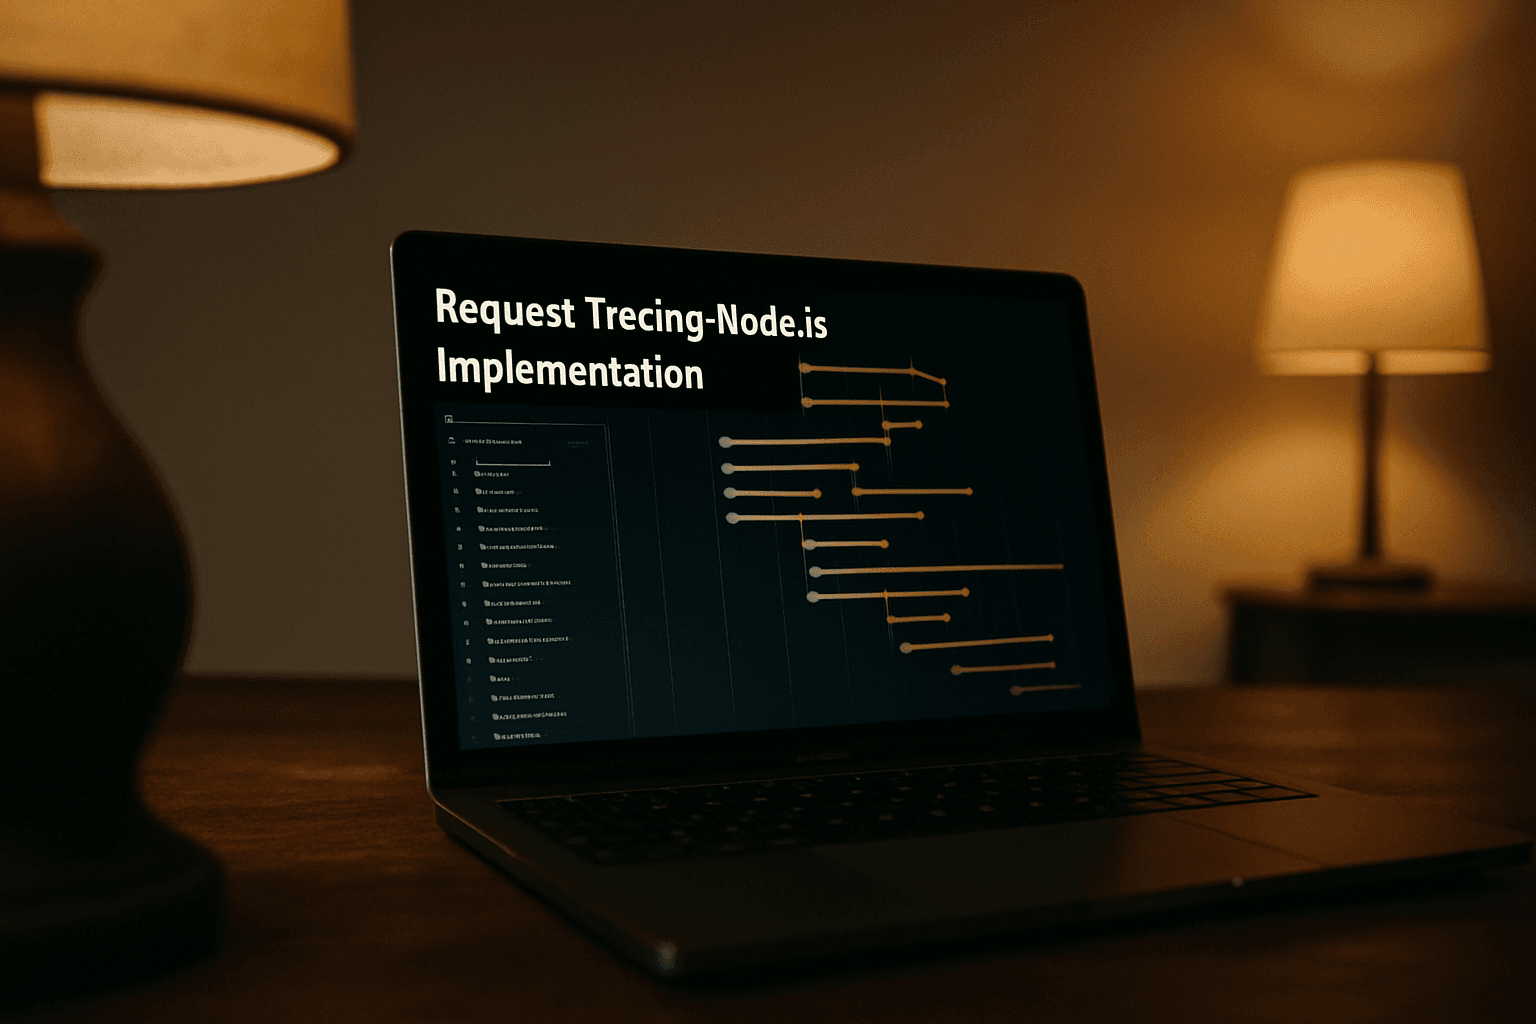
Access the UI at http://localhost:16686. You can search for traces by service name, trace ID, or other attributes. Each trace shows a waterfall of spans with timing information.
Best Practices
- Import tracing early. Import your tracing config as the first thing inside the entry file. This ensures all subsequent code is instrumented.
- Add meaningful tags. Adding meaningful logs and tags to spans provides more context and makes it easier to analyze traces. For example, you can tag a span with the user ID or the type of operation being performed.
- Handle errors in spans. When an error occurs in an operation, record the error information in the span. Set a tag indicating that an error has occurred and add the error message as a log to the span.
- Control sampling costs. OpenTelemetry provides flexible sampling strategies, allowing developers to control the volume of trace data collected based on various criteria, including custom sampling functions, routes, and request headers. This ensures that tracing overhead is controlled even in high-traffic scenarios.
Conclusion
Distributed request tracing transforms how you debug microservices. By instrumenting your Node.js applications with OpenTelemetry and visualizing traces in Jaeger, you gain end-to-end visibility into request flows—making it easy to spot bottlenecks, identify failures, and optimize performance. Start with a local Jaeger instance, instrument your services, and iterate on your sampling strategy as you move toward production.